Article: How To Paint Easter Eggs

How To Paint Easter Eggs

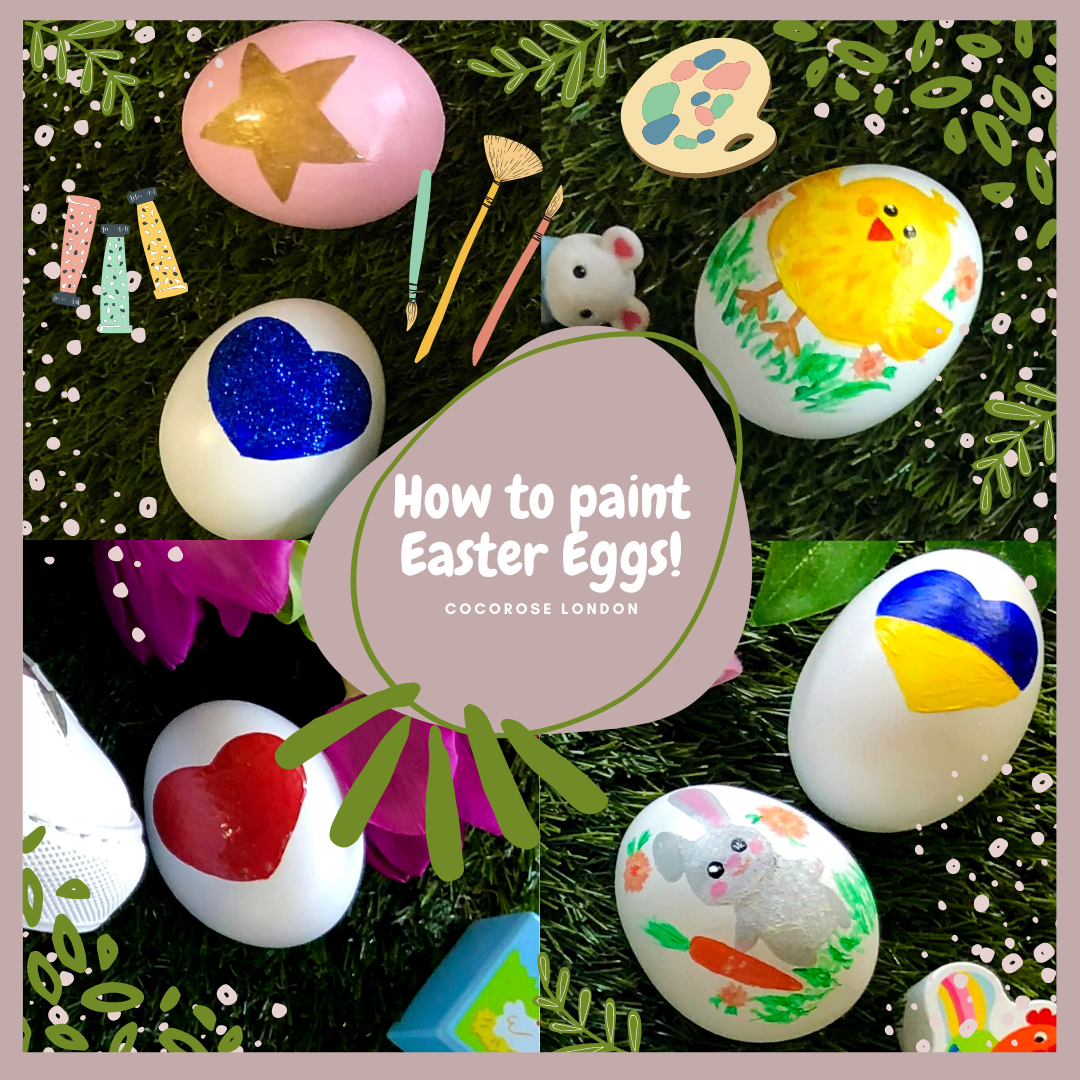
We've been having lots of fun and creative inspiration in the run up to this year's Easter holiday and, as you may have seen in our Easter themed posts on Instagram and during our Facebook Live event, it's because we painted some fun Easter eggs to get us all excited for the upcoming holiday! Whether you find painting to be a relaxing hobby and you wish to try your hand at painting eggs, or you need an activity for the kids to do during the half term break, we've compiled a simple and very effective "How To Paint Easter Eggs At Home" guide. We're also sharing our top tips & tricks for getting your eggs looking "eggs-tra" lovely this year! Just read on to get started.

You will need:
🐣 Eggs (You can experiment with different types of eggs, such as duck eggs if you
want a bigger canvas to paint on, or quail eggs for those small and adorable detailed designs. However, we went with Chicken eggs - there’s
no reason not to! They’re the most affordable, readily available and chances are you already have some at home!)
🐣 Paint (Here you can really get creative... Acrylic, spray, glitter or even metallic paint? However, keep in mind that if you’re not using
paints specifically made for this purpose - ie, painting Easter eggs - we wouldn’t recommend eating the eggs!)
🐣 Decorations (How about some glitter, pom poms for fluffy bunny ears and tails, or sparkly gems…? If you’re in a hurry, then stickers work great too! Just stick them onto your eggs in your desired pattern and it will save you all the time on hand painting!)
🐣 Glue
🐣Painting equipment (Paintbrushes - experiment with different shapes,
pointed, thin brushes for tiny details, and coarse, wiry brushes for fluffy grass or the feathers of a chicken! If you don’t have paint brushes, then you can improvise; tooth picks for the small details and cotton buds for polka dots or flowers! And don’t forget to put down some newspaper to keep your surfaces clean and tidy.)

Step 1:
First, you’ll need to boil your eggs. Once you’ve done this, allow them to cool (run them under a cold tap) and then wipe them over with acetone/nail polish remover to get rid of any calcium left on the surface, as this could affect how paint or glue adheres later. This step is optional but is very useful,especially if you are spray painting them.
TIP: Make sure your eggs are hard boiled. To hard boil your eggs, fill a pan with cold water, gently lower your eggs in and ensure they are fully immersed in the water. Bring the pan of water to the boil and then continue to boil for 8 to 10 minutes.

Step 2:
We went ahead and spray painted our eggs with two coats on each side. We allowed plenty of time for the eggs to dry well between each coat. This is useful when you’re wanting many eggs with the same base colour, and it gives you perfect eggs without streaks that you’d normally get from painting with a brush. However, feel free to paint by hand or use the powdered egg paints that dilute with boiling water.
TIP: Keep your egg carton and use this as your drying rack as it will stop your eggs from rolling.

Step 3:
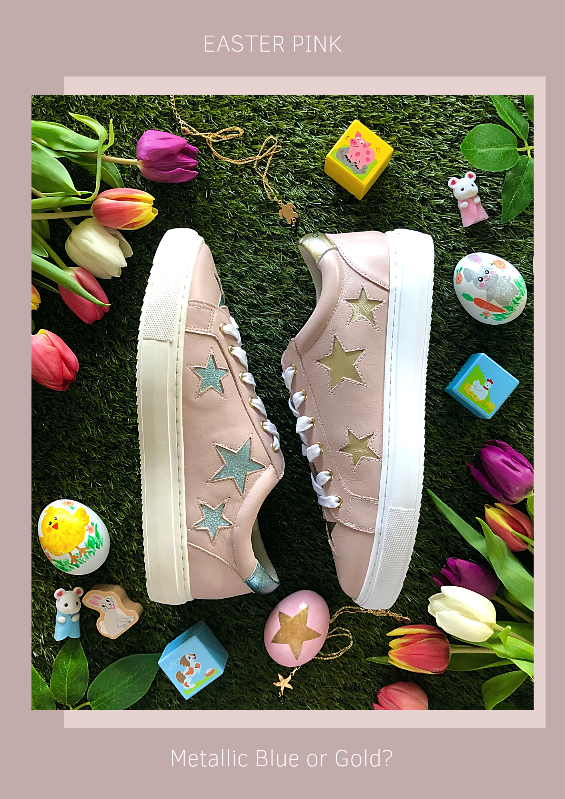
Now that you have your base colour down, decide what design you would like to go for! We chose to use our Hoxton Stars & Hearts trainers as inspiration and we also painted some fun eggs with an Easter bunny and a chicken! We
carefully drew these designs onto the eggs with a pencil (that way you can rub out any mistakes.) Drawing your designs onto the eggs will also help you to paint within the lines.
TIP: You can print out a shape you would like and trace around it onto your egg. This can be useful if you are finding it difficult to get the
proportions right.

Step 4:
Now you can just paint within the lines, or go wild and paint your eggs with glue and pour on your favourite colours of glitter. Then brush away
excess glitter with a fluffy brush. Once your eggs have dried, they are all ready for Easter! Perhaps you'll be hiding them, or using them as part of your Easter decorations.
TIP: If you can, use environmentally friendly glitter which is easily biodegradable.

And there you have it! A really simple and easy way to paint Easter eggs this year. For some fun inspiration about what to paint on your eggs, head over to our Trainers page, where you'll see stars, hearts, rainbows and stripes... all perfect for painting onto your Easter eggs! And finally, why not snap some pictures of your finished Easter eggs and share them with us? We'd love to see!


Please leave a comment if you wish
This site is protected by hCaptcha and the hCaptcha Privacy Policy and Terms of Service apply.